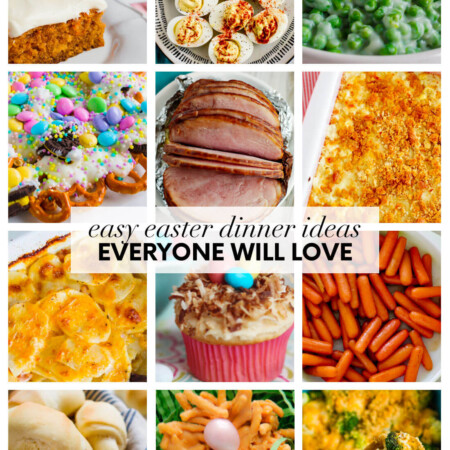
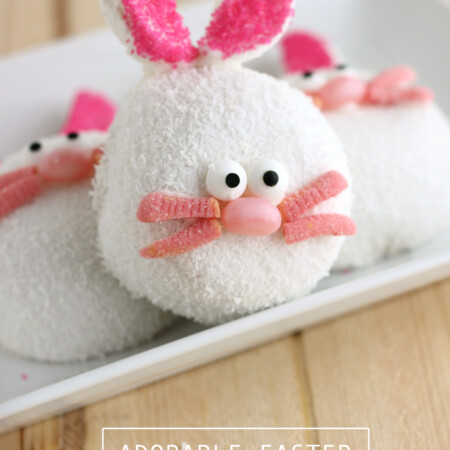
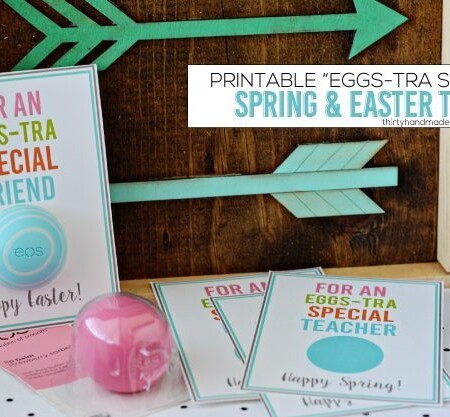
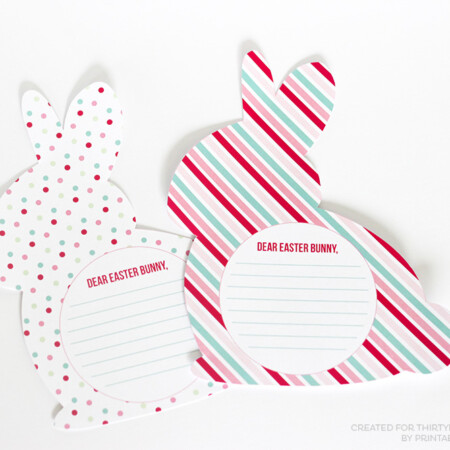
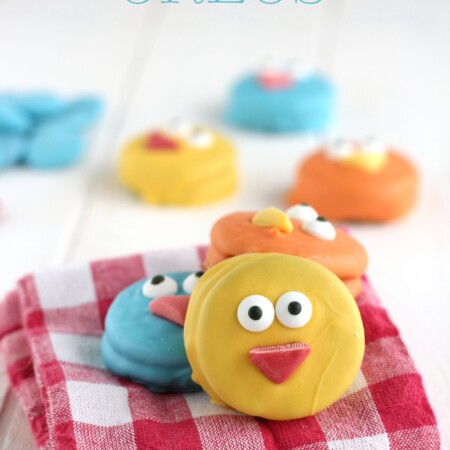
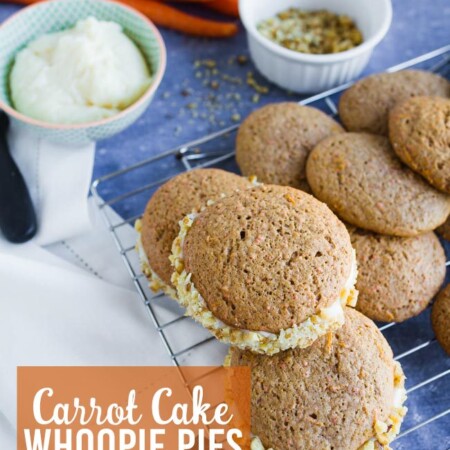
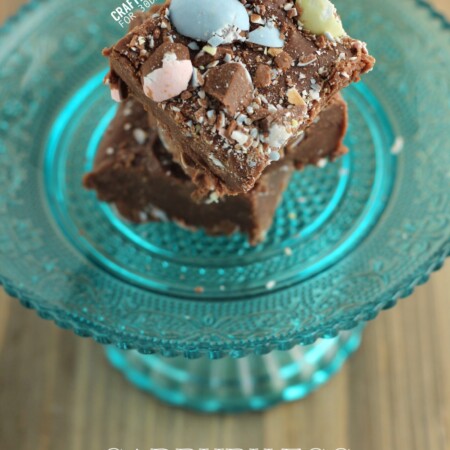
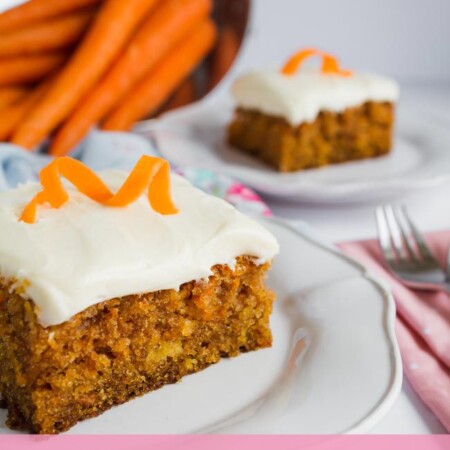
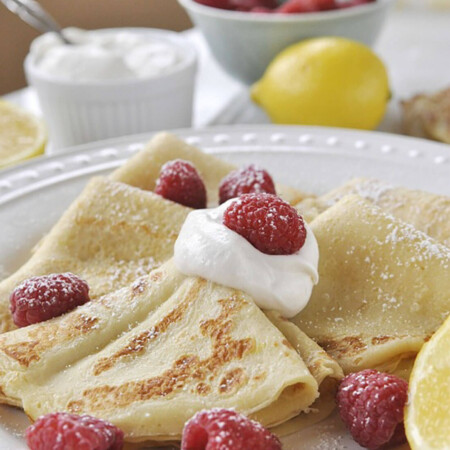
DIY Easter Bag from A Few of My Favorite Things

Hi there!  I’m Danielle from A FEW OF MY FAVORITE THINGS and I am so excited to be guest posting here on 30 Days.  It’s one of my favorite blogs and I’m always so impressed by Mique’s features that I have to admit I was a little intimidated about coming up with just the right project for this post.  I finally decided that with Easter just a few weeks away, an easy and inexpensive DIY Easter bag would do the trick.  This is what I came up with:

So fun, right?  And here’s the best part – they only took about 20 minutes to make and cost less than $5 each!  Here’s the scoop on how to make your own. You’ll need a fabric tote bag (you can usually find them for $1 at your local craft store) and a package of light fabric transfers (I got mine at Staples).

You’ll also need a pair of scissors, an iron and a graphic to use on your bag.  I found these adorable free printables on Skip to My Lou, and decided they were perfect.

Yeah, I know they’re supposed to be cupcake toppers but I cropped out one of each color and was ready to roll!  Okay, so you have an image you want to use but you need to add a name and flip it before it’ll be ready to iron on.  I like to use Picnik for my photo editing because it’s really easy to use and FREE so my step-by-step instructions will for Picnik but if you have Photoshop or another similar program, you can use that too. First, choose COLLAGE from the options at the top of the Picnik homepage and then pick the best shape of collage that will fit your design.

Continue reading

Hoppy Easter Printable

With Easter around the corner, Sweet Sugar Belle and
I combined forces for some super cute cuppies and printables.

My paper version and Callye’s cookie version

Front and back view
To make my version, you will need:
cupcake ingredients
cotton balls
candy beads
bamboo forks (toothpicks can be used as well)
Skip to My Lou’s cupcake wrapper template
(I changed the color to pink)

Make and frost your cupcakes.  Add candy beads.
Print cupcake wrapper and construct them.  Add cotton balls. 
Print bunny ears.  Attach to bamboo forks. 
You can also print the “Hoppy Easter” flags and adhere to
a bamboo fork or toothpick.

Callye
is the cookie queen and always coming up with adorable ideas. 
Her bunny ears cookie with added face details? Darling!
Make sure to visit Sweet Sugar Belle to get full details.

Make sure to grab your printables:
Bunny Ears Printable

Hoppy Easter Flags Printable

I’m linking up to:

Tidy Mom
Get Your Craft On Tuesday

Carrot Cake from anna and blue + free printable

Stefanie from anna and blue paperie is here today to share her Old Fashioned Carrot Cake with Maple-Cream Icing. Yum!  Stefanie took her traditional carrot cake recipe and turned them into cupcakes.  She finished them off with an adorable happy birthday topper.  She’s sharing it today as a free printable.  Thank you sweet Stefanie!

Ever since my husband and I first dated, I would make his favorite cake for his birthday.  He LOVES carrot cake with LOTS of cream cheese icing.  Before we were married and before we had all the fun kitchen appliances, I would grate the carrots by hand.  Talk about a labor of love.  This cake is delicious even for an afternoon snack or breakfast.  With Easter around the corner, it would be perfect for Easter Brunch.
Old Fashioned Carrot Cake with Maple-Cream Icing
Ingredients:
2 cups sugar
1 cup canola oil
4 large eggs
2 cups all purpose flour
2 teaspoons baking soda
1 teaspoon ground cinnamon
1/2 teaspoon salt
1 – 1 1/2 cups finely grated peeled carrots
1 cup walnuts, toasted, chopped (optional)

Position rack in center of oven and preheat to 350 degrees F. Butter and flour two 9-inch diameter cake pans with 1 1/2 inch high sides. Using an electric mixer, beat sugar, oil and eggs in a large bowl until well blended. Add flour, baking soda, cinnamon and salt. Beat until blended.  Stir in carrots and walnuts. Divide batter between pans. Bake cakes until tester inserted into center comes out clean. ( I use a toothpick). This varies by oven.  Mine takes about 32-40 minutes. Cool cakes in pans on rack for 15 minutes. Run a small knife between pan sides and cakes to loosen. Turn pans upside down and gently pat to remove. Then place cakes onto racks; cool completely.

Maple Cream Cheese Icing Ingredients:

Two 8 ounce packages cream cheese at room temperature
1/2 cup (1 stick) unsalted butter at room temperature
1 1/2 – 2 cups powdered sugar
1/2 cup pure maple syrup
1 1/2 teaspoon vanilla extract (my favorite is mexican vanilla)

Beat cream cheese and butter in a large bowl until smooth. Add powdered sugar, syrup and vanilla. Beat until smooth. Place in refrigerator for about 15 minutes.  This makes the icing of the cake easier.

Icing the cake:

Place 1 cake layer, flat side up on your platter. Spread 1 cup icing over. Top with the second layer, flat side down.Spread remaining icing over the top and sides of the cake. Refrigerate cake for one hour or up to 1 day. Serve at room temperature.

This year, I decided to make carrot cupcakes.  Instead of placing cake batter into cake pans, simply use muffin pans.  Use cupcake liners and fill liners no more than halfway full of the batter.
Formatted for an 8.5 x 11 sheet with 12 squares. Print on heavy card stock, matte photo paper or 8.5 x 11 full size label sheets to make stickers. Cut to make squares or use 1 7/8” and 2” circle and scallop circle paper punches.