Search...
Home
About
Printables
Free Printables
Printables Shop
Recipes
All Recipes
Appetizers
Breads
Breakfast
Dessert
Healthy
Kids Snacks
Main Dish
Soups and Salads
Parenting
Back to School
Kids Activities and Ideas
Kids Cooking
Kid Ideas
Kid Printables
Parenting
Parenting Guidelines
Parties
Lifestyle
Beauty
Budgeting
Health
Organization
Random Acts of Kindness
Style
Travel
Home Decor
Gift Idea
Anniversary
Birthday
Crafts & DIY
Holidays
Valentine’s Day
St. Patrick’s Day
Easter
Mother’s Day
Father’s Day
4th of July
Halloween
Thanksgiving
Christmas
New Year’s Eve
X
Skip to primary navigation
Skip to main content
Skip to primary sidebar
Subscribe
For the latest
Latest
About Mique
Privacy
Search...
Thirty Handmade Days
30 Days Blog
Home
About
Printables
Free Printables
Printables Shop
Recipes
All Recipes
Appetizers
Breads
Breakfast
Dessert
Healthy
Kids Snacks
Main Dish
Soups and Salads
Parenting
Back to School
Kids Activities and Ideas
Kids Cooking
Kid Ideas
Kid Printables
Parenting
Parenting Guidelines
Parties
Lifestyle
Beauty
Budgeting
Health
Organization
Random Acts of Kindness
Style
Travel
Home Decor
Gift Idea
Anniversary
Birthday
Crafts & DIY
Holidays
Valentine’s Day
St. Patrick’s Day
Easter
Mother’s Day
Father’s Day
4th of July
Halloween
Thanksgiving
Christmas
New Year’s Eve
Beauty
Home
» Archives for Beauty
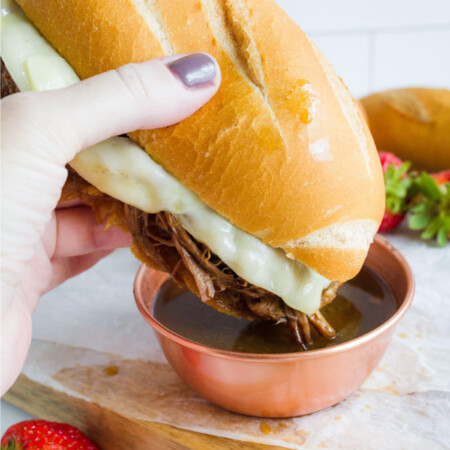
French Dip Sandwich Recipe
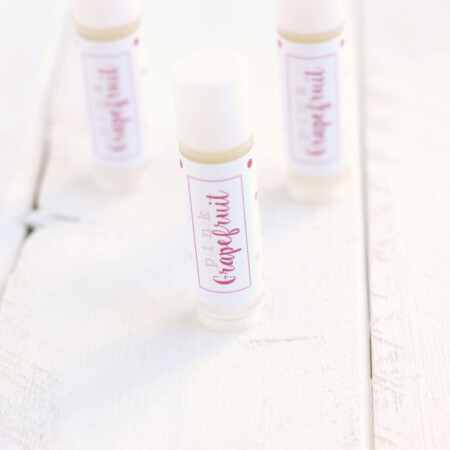
Grapefruit Lip Balm + FREE Printable Label
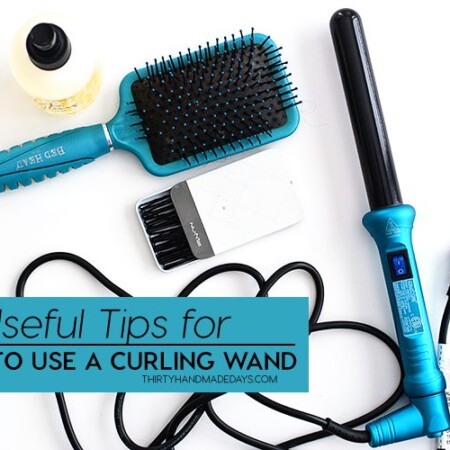
Useful Tips for How to Use a Curling Wand
Summer Hairstyles for Swimming and Tips
Cute Summer Outfits for Teen Girls & Their Moms
10 Summer Braids
Summer Outfits for Moms
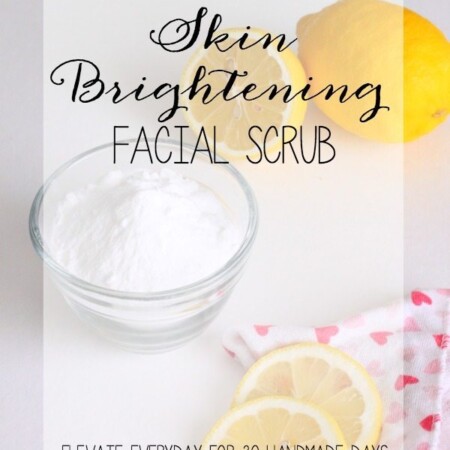
DIY Skin Brightening Face Scrub
14 Amazing Curly Hair Tips + Tutorials
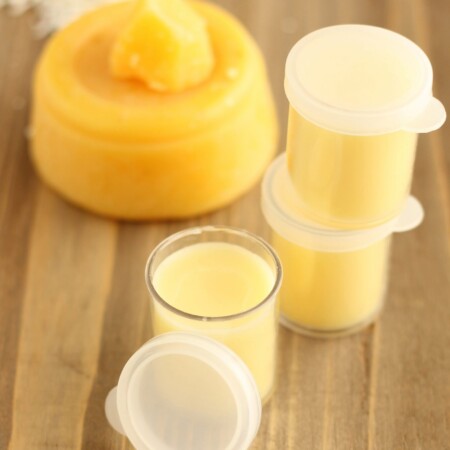
Homemade Cuticle Cream
13 Hair Tutorials You’ll Freak Out Over For Fall
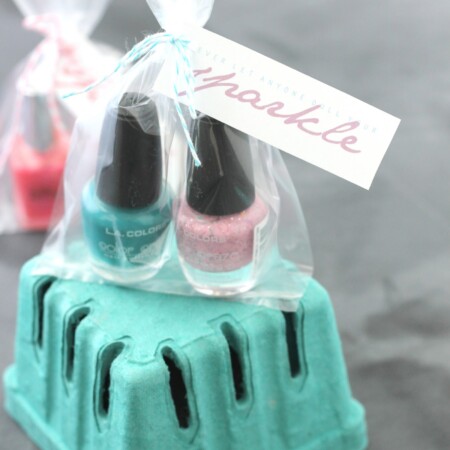
Nail Polish Gift Idea + Free Printable Tags
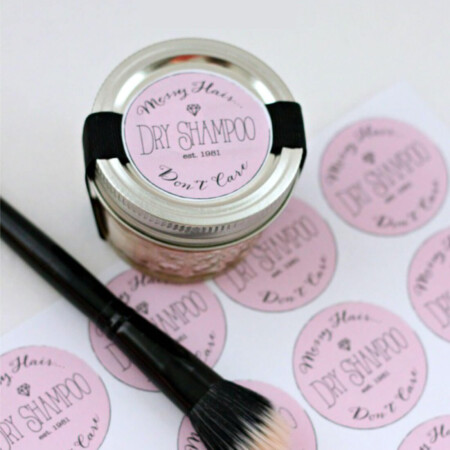
DIY Dry Shampoo
5 Hair Curling Wand Tutorials to Prevent You From Burning Your Fingerprint Off
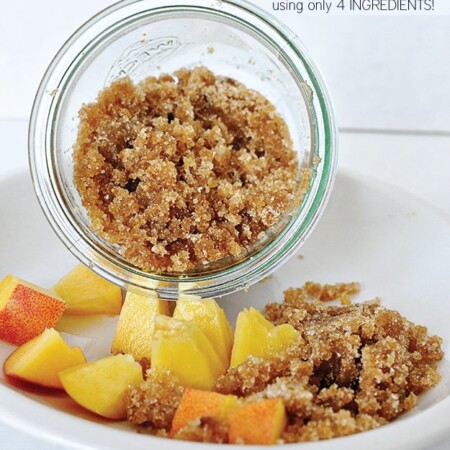
4 Ingredient Body Scrub – Brown Sugar Peach
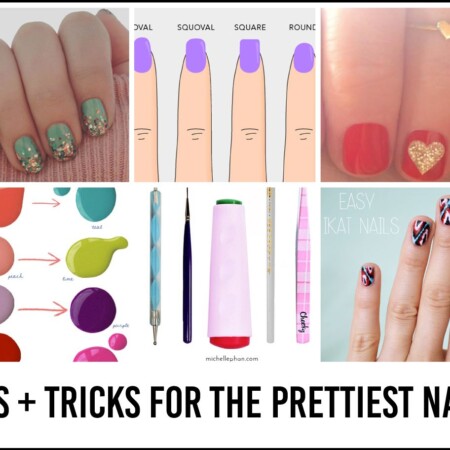
Tips + Tricks for the Prettiest Nails
20+ Must Try Hairstyles + Tips
5 Simple Tips for a Quicker Morning Routine
Go to page
1
Go to page
2
Go to
Next Page »